Combat Zone Scenery: Laying Pavement
Laying Pavement
by Christian Smit
There are a lot of different ways of putting roads onto a table...
You can use black cardboard for roads, or buy commercial rubber or resin pieces. You can build highly detailed modular road sections, or you can draw them with chalk.
Or you can make sidewalks instead. They easily show where the roads are and also add great visual impact.
They are also easy to make: All you need is 5mm foam, a knife, a (steel) ruler, a pen or pencil and paints.
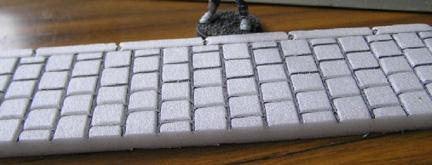
For my city I went for sidewalks that are 5 cm wide, 20 cm long. This gives me just enough space to put to models next to each other.
Luckily, my steel ruler is 5 cm wide, so cutting up the pieces of foam was even easier!
I first drew the pavement structure on top of a piece. I only needed to do this once, because after that I had an idea how everything would look.
The next step is using your knife to gently score the pattern into the foam. Follow this by going over the lines with your pen, using a bit more pressure.
I chose a complex pattern, which added to the work. You can just as easily go for large concrete slabs
When I figured I had enough I started painting. First, everything got a black coat followed by a progressive dry brushing of lighter grey.
At the moment I might still go one shade lighter, but the result is already very nice.
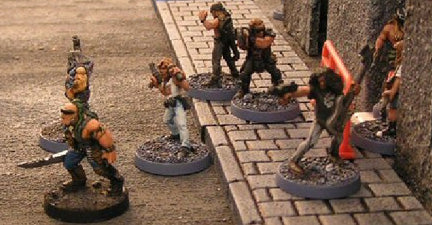
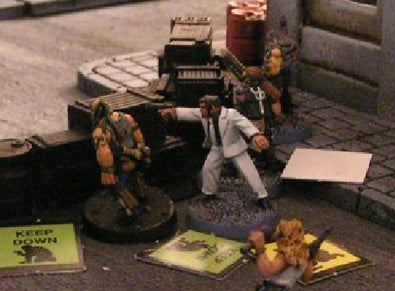
Sidewalks/pavement really help the look of any urban battleground and help make buildings look less like boxes dropped onto the table. As you can see, they were well worth the effort!